Schedule a stock check
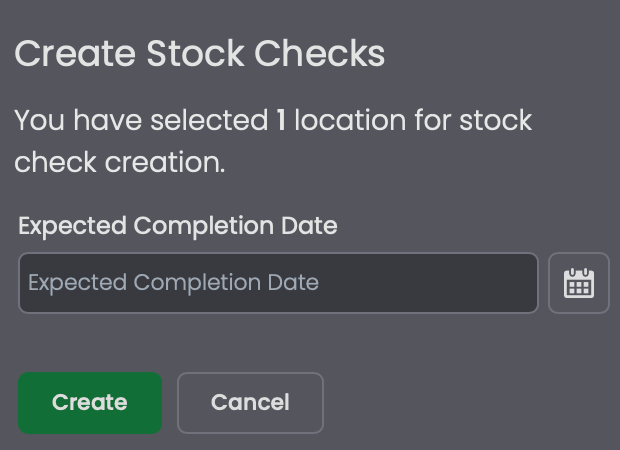
Select the location
Tick the checkbox next to the location you want to audit. You can select multiple locations to schedule several checks at once.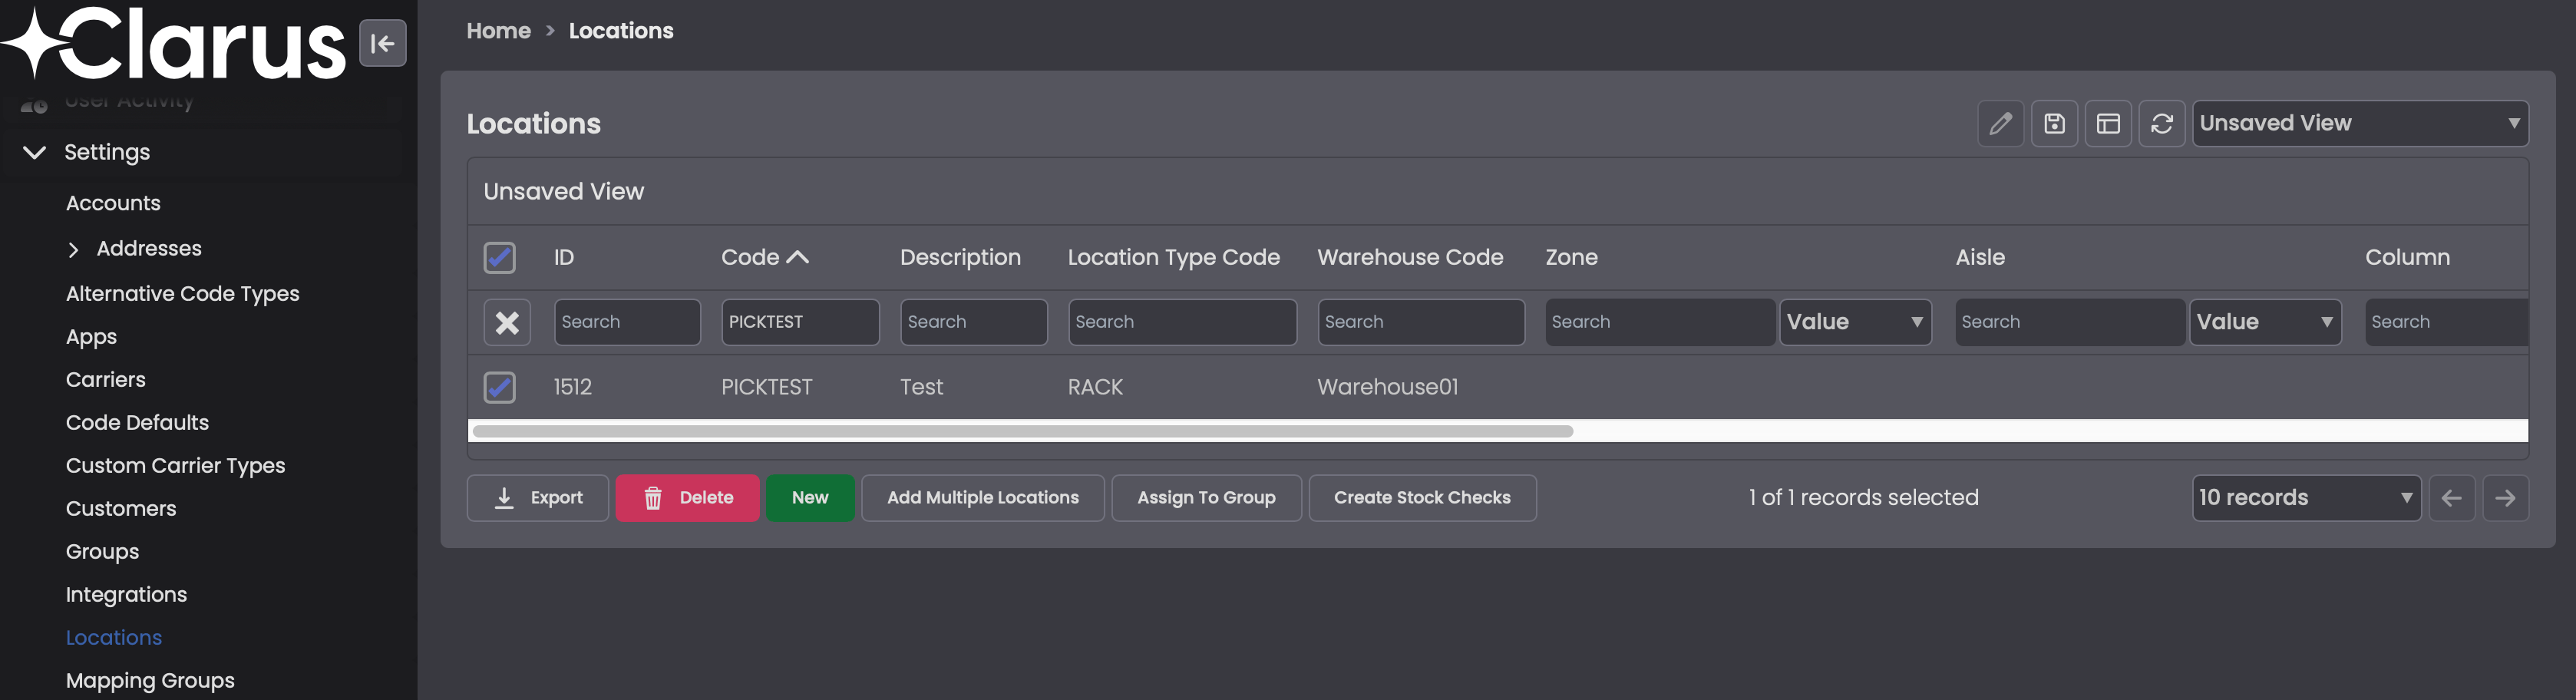
A new stock check cannot be created for a location while another one is Pending for it. You can confirm the current status from the Stock Checks screen.
Run the count on the HHD
Open Stock Check on the handheld
From the HHD menu, open Stock Check and tap Stock Check by Location. HHD menus are configurable, so your labels may differ from these defaults.

Show screenshot
Show screenshot
Scan the location
Scan or enter the Location Code you want to count.

Show screenshot
Show screenshot
If no stock check has been scheduled for the location you scan, the HHD returns No Pending Stock Check found in Location. Schedule the check from the desktop before counting.

Show screenshot
Show screenshot
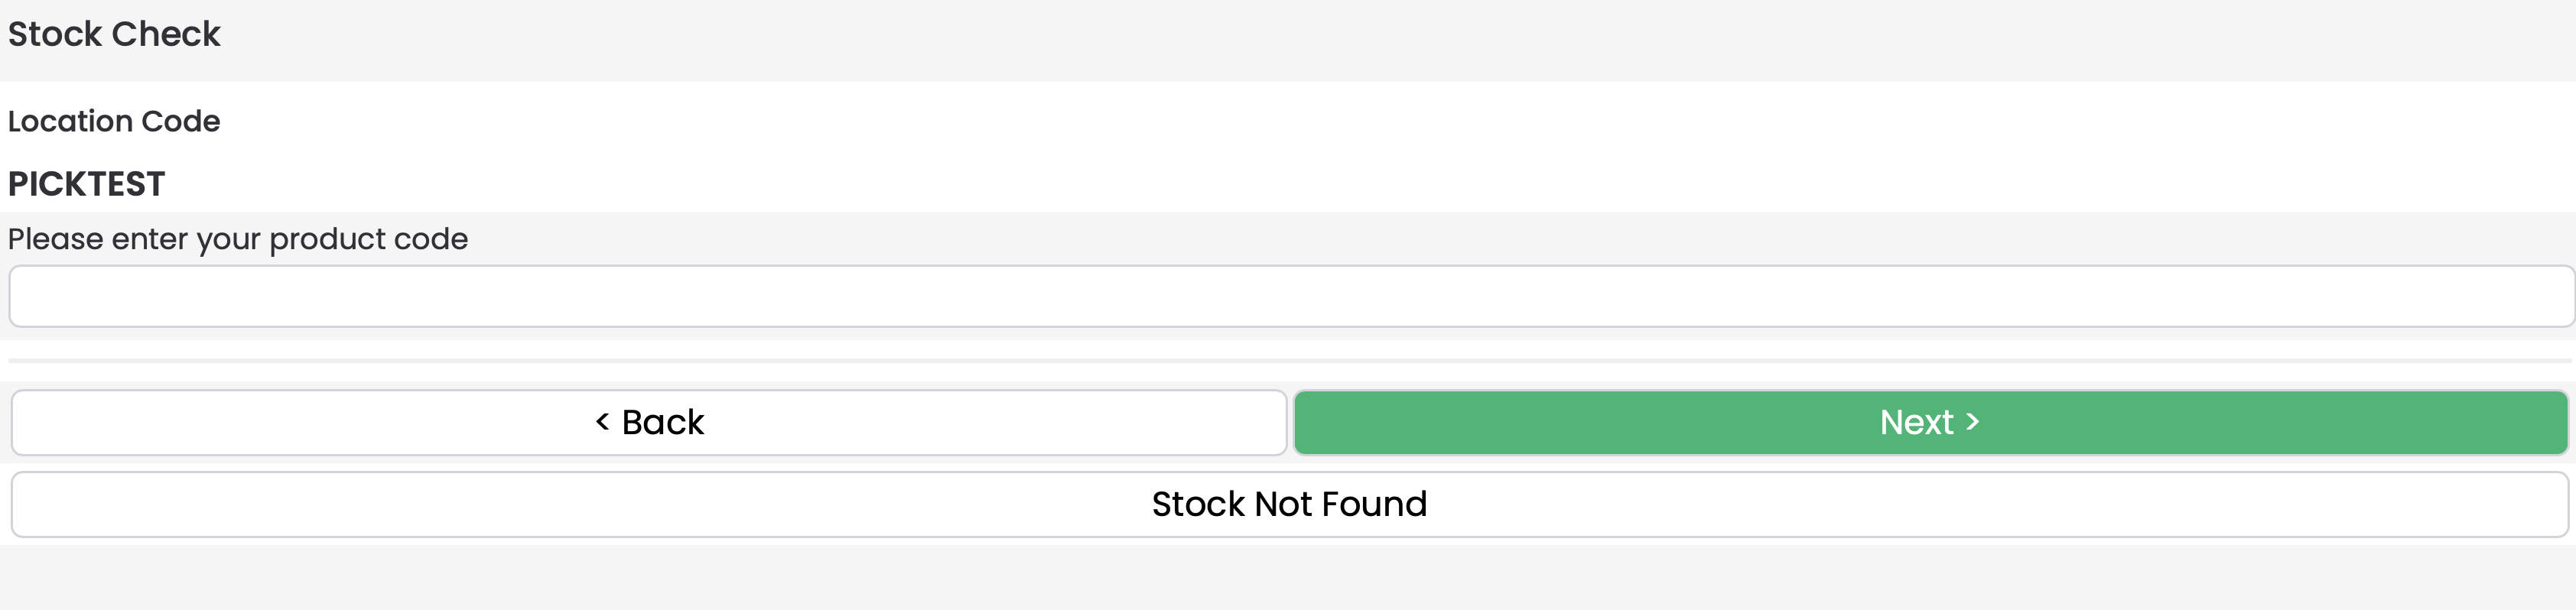
Enter the product
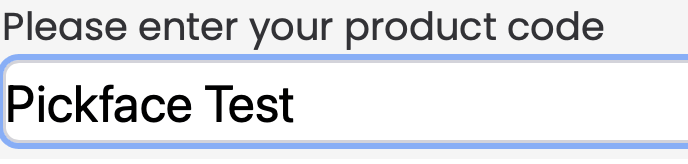
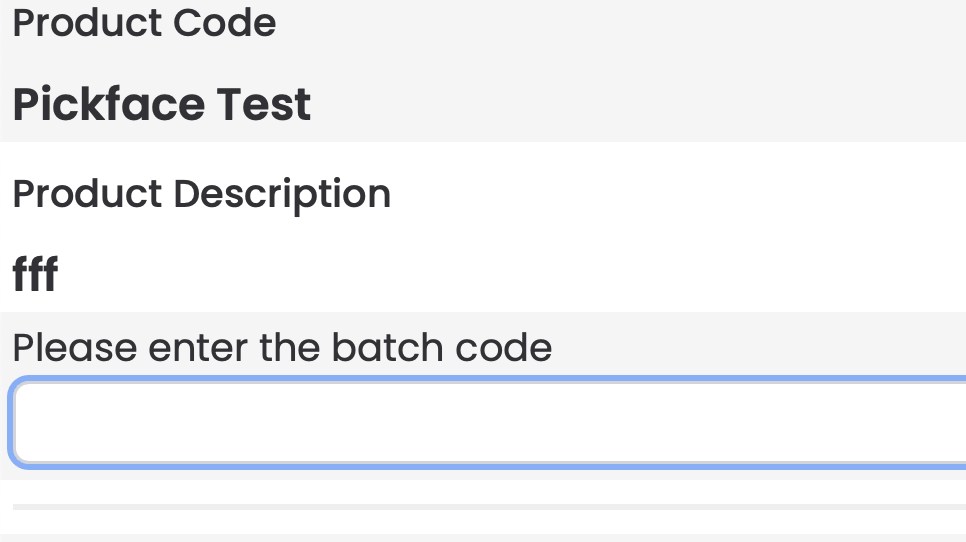
Enter the Product Code found at the location, then tap Next. The HHD confirms the matched product description before continuing.
Show screenshots
Show screenshots
Confirm batch attributes (if applicable)
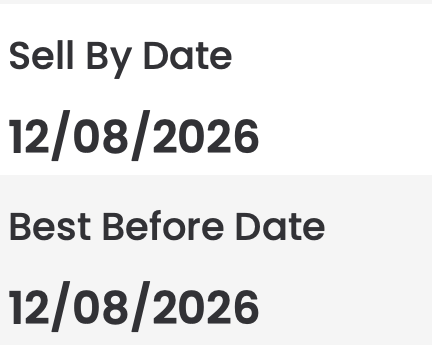
If the product is batch-tracked, enter the Batch Code when prompted, then confirm the Sell By Date or Best Before Date as prompted by the record.
Show screenshots
Show screenshots
Batch, Sell By, and Best Before prompts only appear on the HHD when the account flags are set to use those attributes.
Handle mismatches and exits
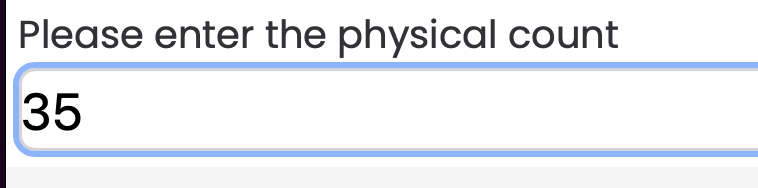
If the physical count does not match the recorded value, the HHD shows a warning and offers a second attempt. Only two attempts are allowed before the check fails.Show screenshot
Show screenshot

| Scenario | Action |
|---|---|
| Count mismatch | Tap Count Again to restart the count for that item. Only two attempts are allowed before the check fails. |
| Empty location | Tap Stock Not Found to complete the check for that location. Only use this when the location is genuinely empty. |
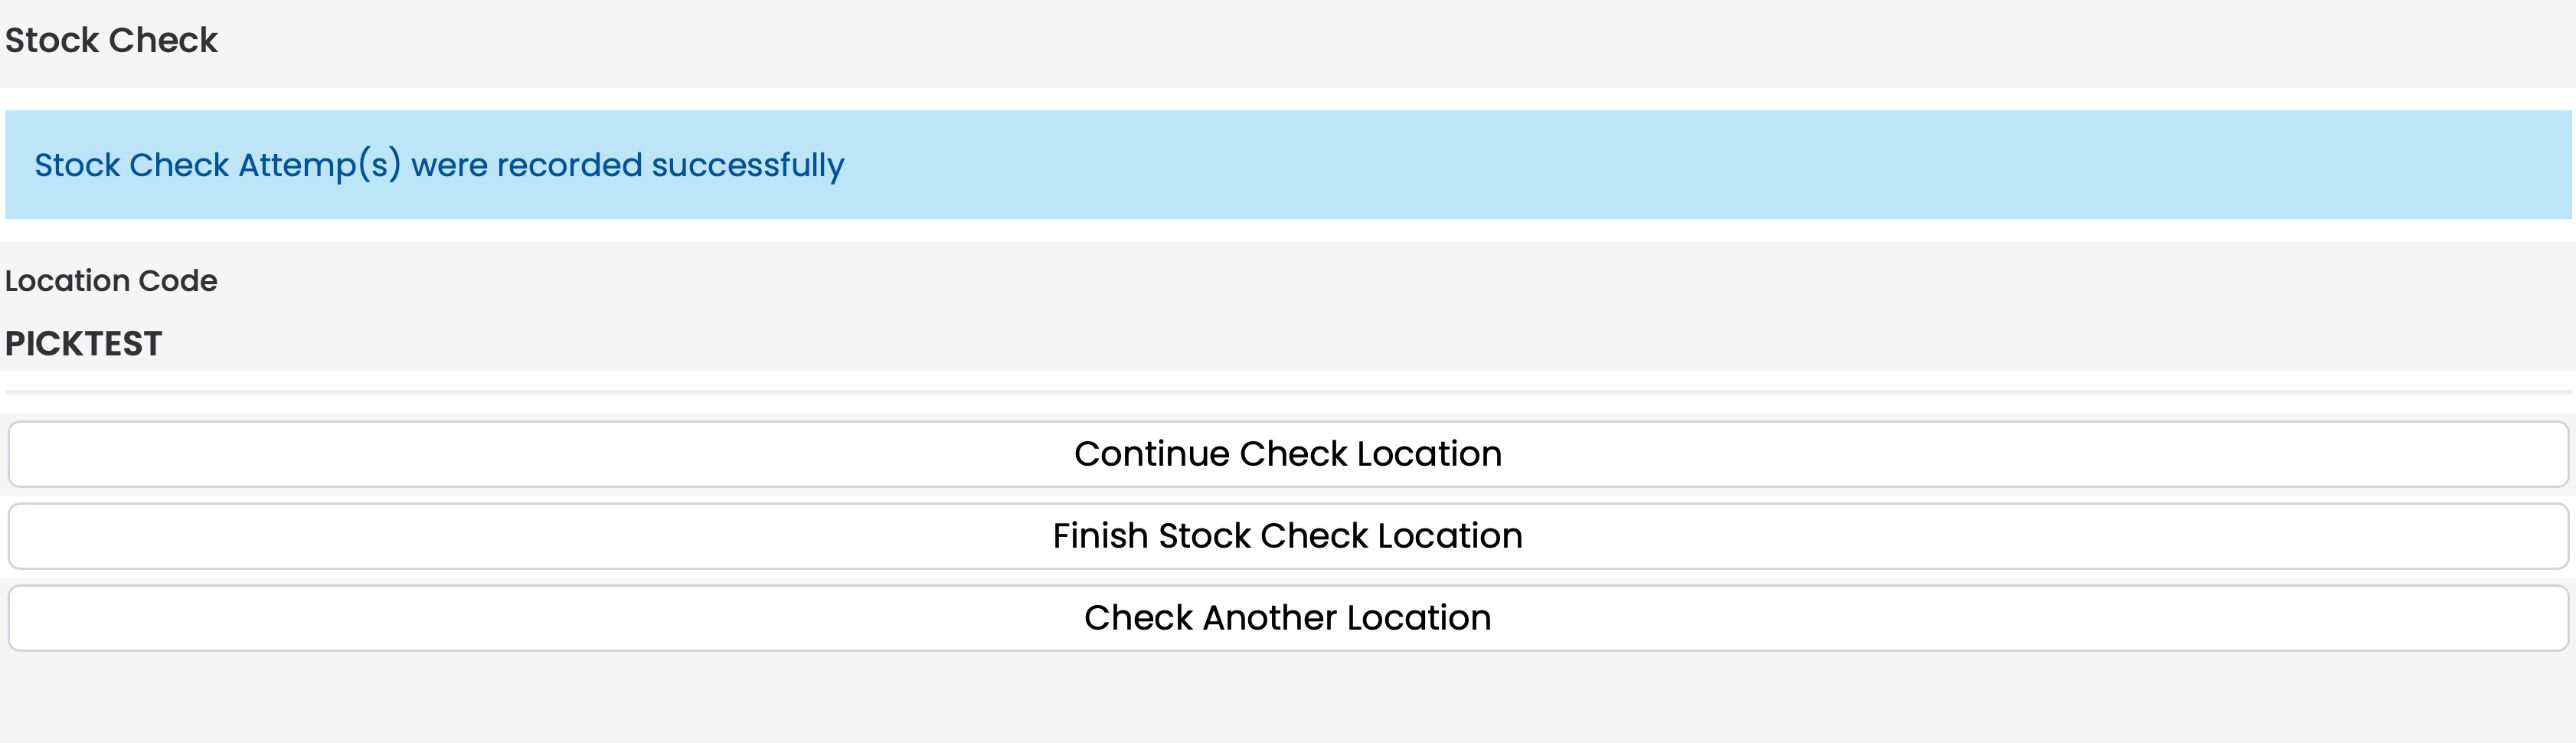
| Leaving mid-check | Tap Back to choose between continuing the current check, finishing the location early, or switching to a new one. |
Show screenshot
Show screenshot
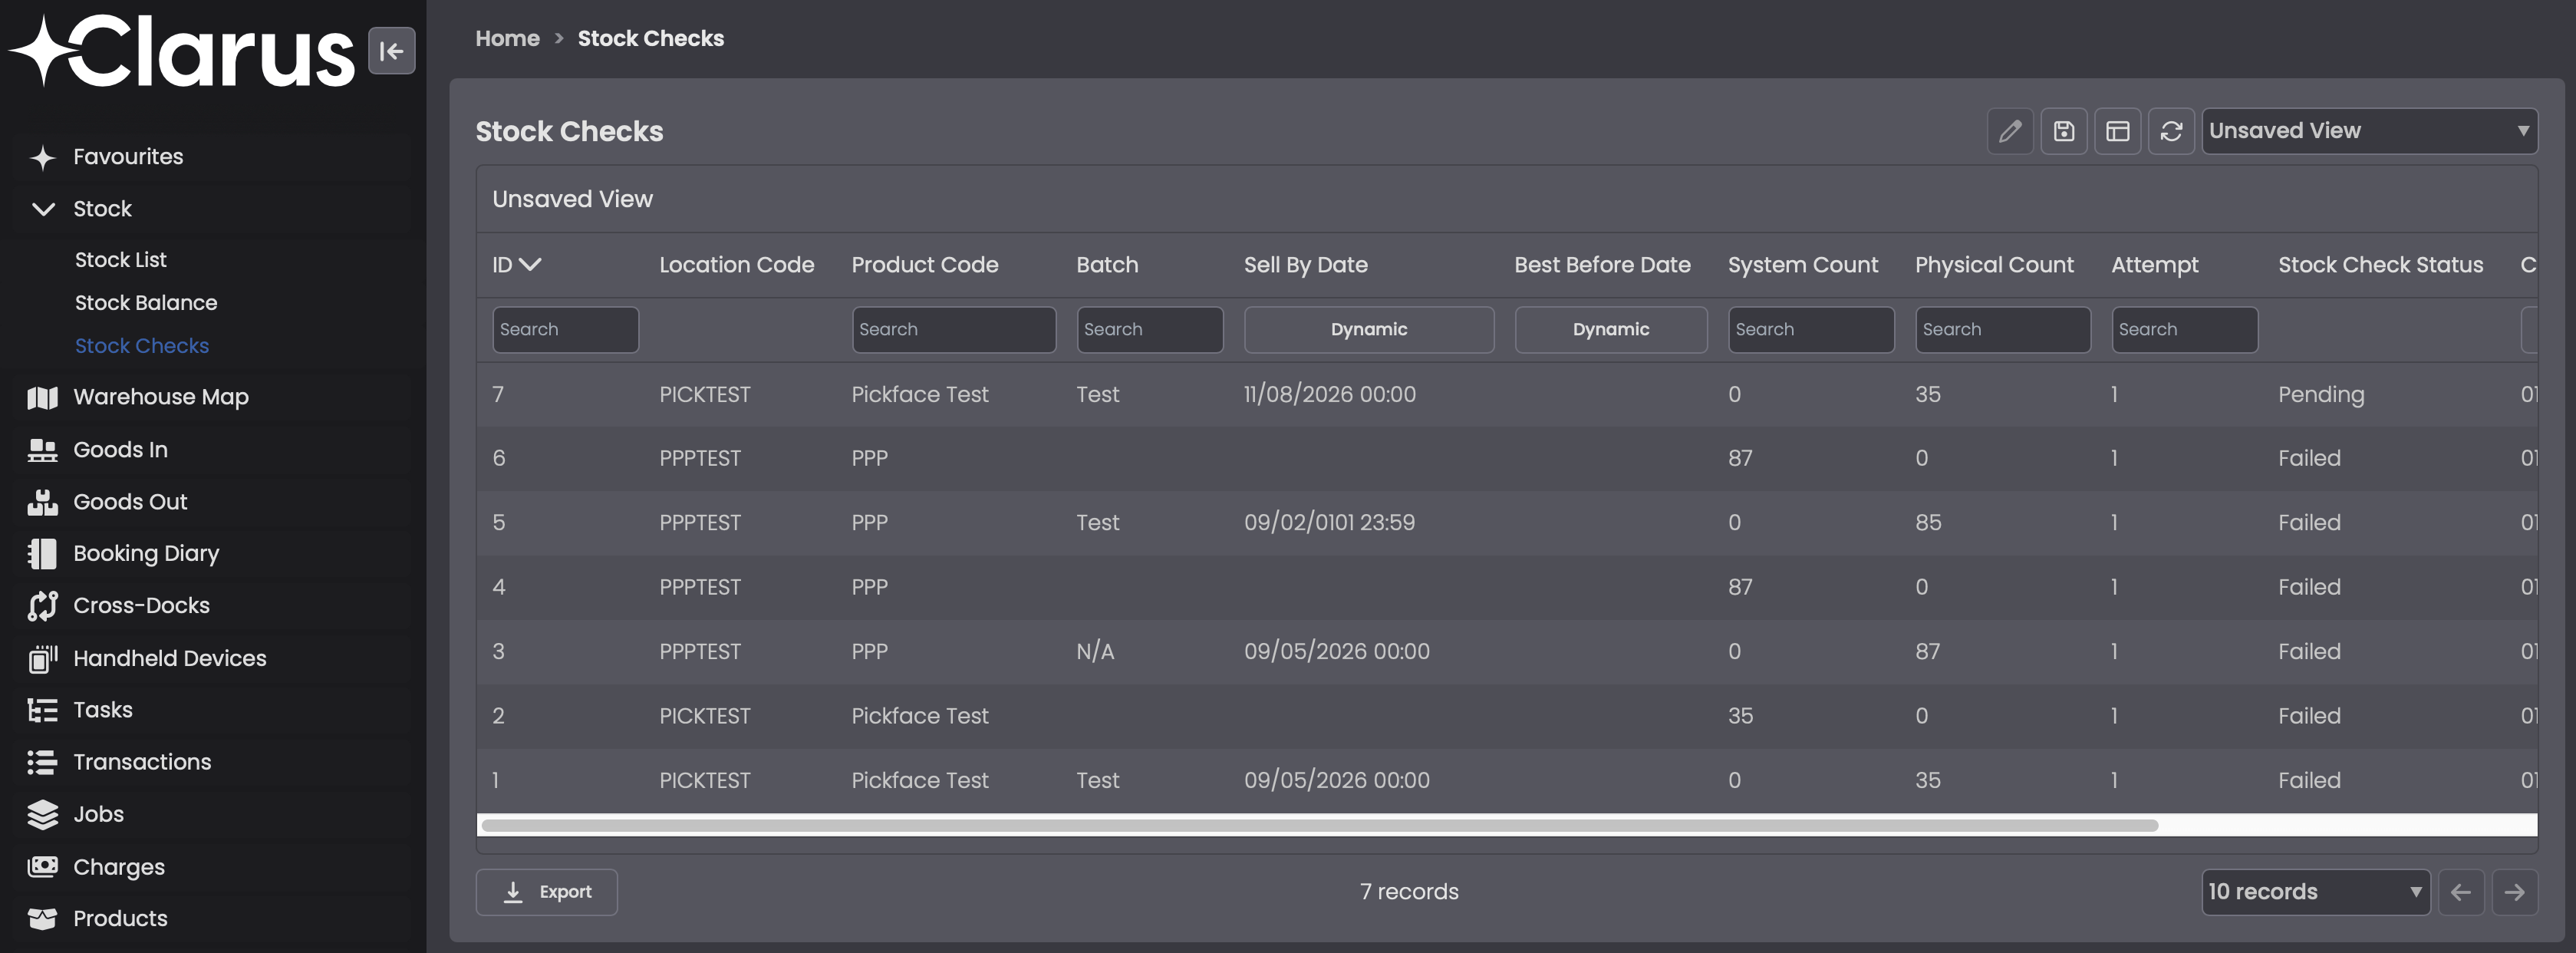
Review stock check history
From the left-hand menu, expand Stock and open Stock Checks. The grid shows the history of each attempt with its location, product, counts, attempt number, and status.