
Overview

You can hide specific usernames from other users within the system. This ensures that clients interact only with the profiles relevant to them, maintaining a secure and organised workspace.

Setting up restricted visibility

1

Access Settings

From the home dashboard, navigate to the Settings menu.
2

Manage Users

Within Settings, select the Users tab.
3

Select a profile

Choose an existing user to edit, or select Create New User.
4

Adjust visibility toggles

You will see options to view all accounts, warehouses, and users. Switch the “View All Users” toggle to No.
User visibility toggle showing View All Users set to No
5

Define approved users

Once disabled, a new Approved Users tab appears on the user’s profile page.
6

Add specific permissions

Click the selection box at the bottom of the page to see a list of usernames. You can type to filter the list. Select the desired username and click Assign.
Approved Users tab with username selection and Assign button
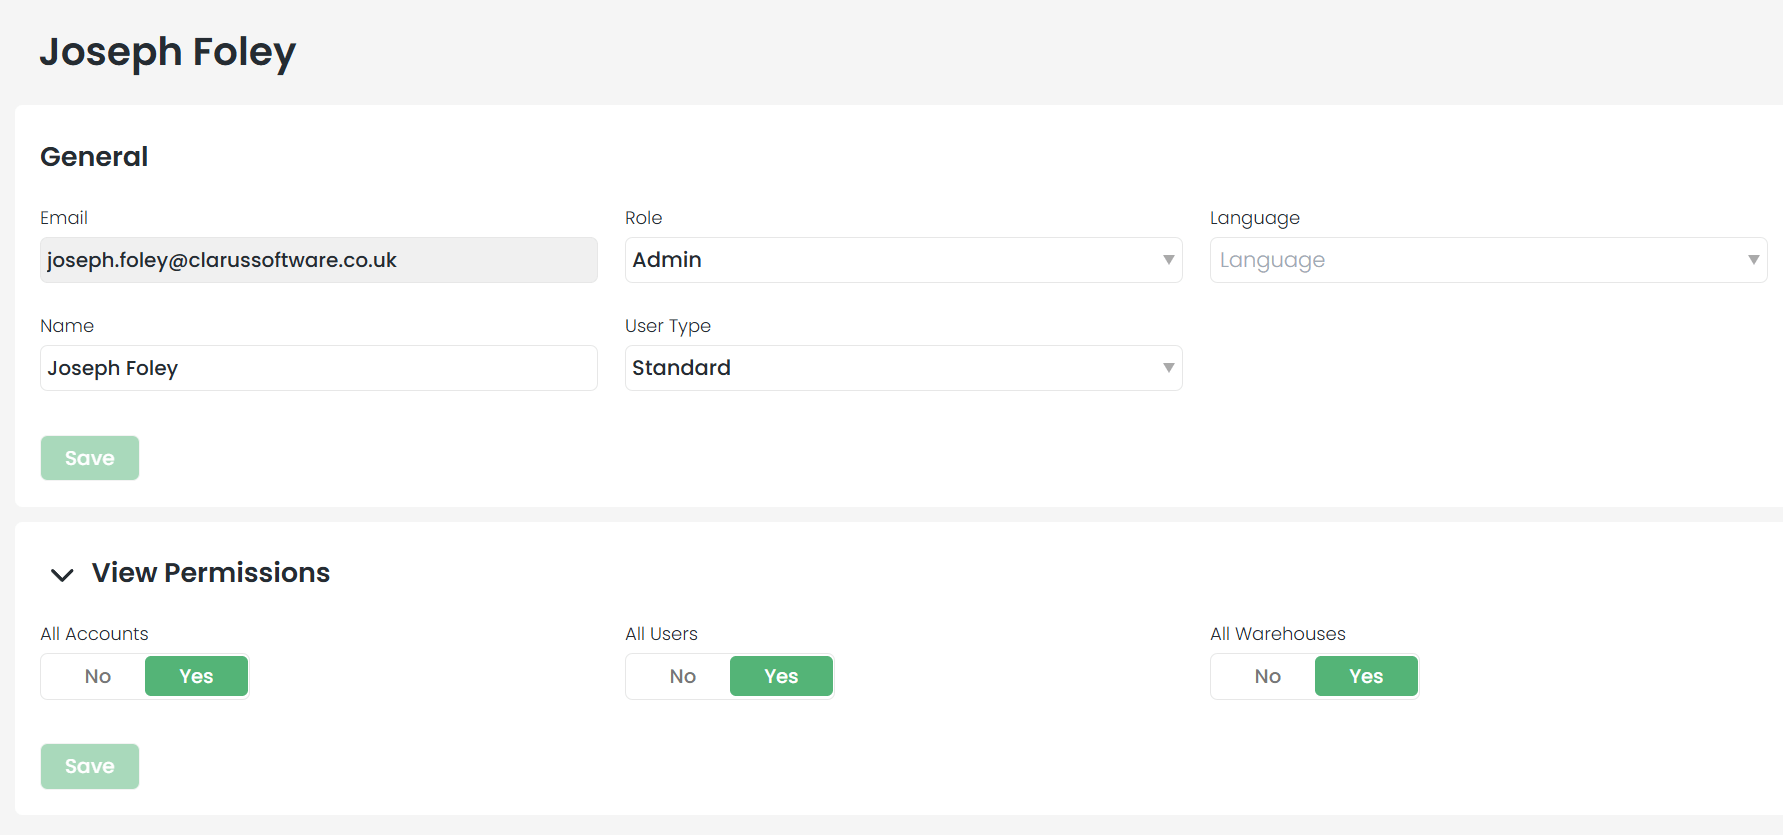
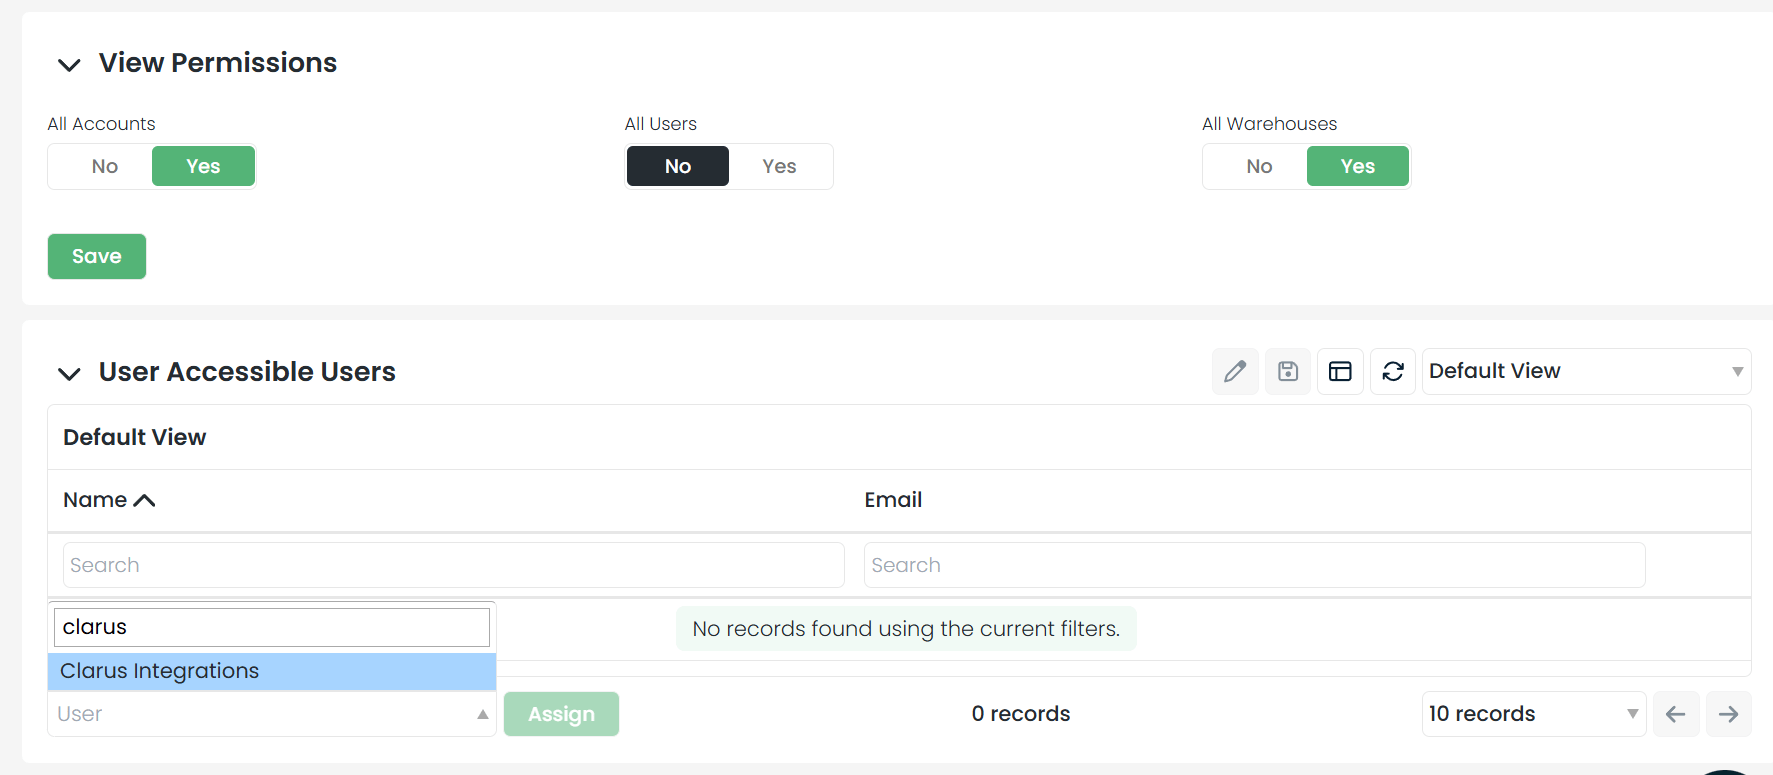
Repeat this process for every individual you want the user to be able to see. Once saved, their visibility will be strictly limited to your approved list.